Showing posts with label Grow it yourself. Show all posts

Sunday, November 17, 2013

Chacha Cha CHIA

My toddler's have grown straight into teenagers, ready to hit their sexual prime. they have flower buds that should open any day. I cannot Wait to see how they turnout , finding picture of these guys is hard. so far I have 5 almost bloomed Plants from my original planting. But I also have 3 "elementary Schoolers" in my okra and 2 in my 'maters. I plan On weighing each seed I harvest so I Can decide If it was worth it- these seeds are expensive. I f I can get at least a pound from the cup or so of seeds I've used I would be happy.

Sunday, October 27, 2013

GALECK, GALECK

Garlic, if there was ever to be an alien space invader made of kitchen tools I hope they have tons of GALECK

But in the mean time I preparing for my first garlic winter.  I grew garlic once in Fl. It was initially an amazing success, followed closely by unmitigated disaster. Not a single garlic in the pots or garden. However the year after I moved to Tucson my old roommate called me up "Hey, remember your garden? Garlic and Peppers seem to be growing like crazy over there!".  So while I did not get to enjoy the bulbs of my labor at least I know they were delicious eventually. Garlic makes my favorite i feel like crap dinners , Sopa de Ajo (from my FAVORITE cookbook, Clarita's Cocina-check it out) so I am definitely motivated to try again.

I started out at the AZGardenForum.  http://forums.gardenweb.com/forums/load/azgard/msg0920362827535.html Turns out there is a bunch that goes into garlic. I am planning on doing a grocery store planting since so many of the garlic I buy already sprout when I forget them in the fridge.  So I'm pretty sure they are not sprayed with any retardant. So while my formal plan is to just shop and plop  I thought it would be nice to find some more out about Garlic to help with good planning on where it should go.

AH: Mother Earth News Fill us in: what do you know, the best kind for braiding :) Turns out these babies won't be ready till next summer.  Harvest time is when about half the leaves turn a yellowish color.  I need to figure out how to mark these guys as different from my chives, because they look similar. (My second test to identify plants after looking is tasting and they taste too similar for me to accurately identify between the two with any confidence)

Companion Issues: (and my NEW C.P. List) Plays poorly with Peas/Beans (Hmm, my chives are near the mystery beans, note to self to check on that later!) But it also plays VERY well with other plants turns out it is a "natural fungicide"  It is often grown with Roses to combat Aphids (see pests). It is also grown with fruit trees! (Who knew? not me!) They also support a lot of winter veggies, beets, and cabbages.


Pests: the reason Garlic is such an awesome companion plant is because it is supposed to help repel insects.  In fact in the War on Aphids, I considered making a Garlic Spray as one of my attempts to combat the gross lil devils. (I ended up making Tomato Spray because that was what was in the house). The lady at Arbico-Organics noted that the small flowers on herbs tend to attract lots of beneficials so I bet Garlic would as well.

Thursday, October 17, 2013

Mystery Beans

They are getting bigger and definitely some sort of bean.  I love pea/bean flowers. They are so delicate and dainty. They also offer up a nice change from all of the yellow of the summer veggies (think squash, melon, cucumber).

 They also have some beans. Problem is they are sort of a mystery plant. I got a little crazy and I planted a Bush bean, some Pinto beans and black beans at various times. However I did not label any of them, and they took FOREVER to come up.   I have no clue which ones these are!  I've tried a bite and they seem a little small and too furry to be edible at this time.  So maybe I have my first home grown frijoles!

Savers: Melon eddition

Not only did I make dinner tonight, I grew our salad.
pretty huh
And in the spirit of full disclosure, I must admit I have already lied. I did not grow the cucumbers, they were a gift from a friends garden.  But everything ELSE was all me.  We have Mint, (yup THIS mint, more on that front in another post)  Basil, Cucumbers, and Melon (don't ask what kind...I REALLY need to invest in some kind of labeling system!).

Along with making a yummy salad I thought I'd show you how to use your delicious melon to extend your garden.  So follow along with another SAVERS: Melon Edition.

Step 1. Start with your melon: 
Step 2. Cut it in half:
Look at all them seeds
Step 3. Start Scoopin'

Really get your hands in there...Gross

Step 4. See all that goop? Rinse it off, and let dry! TADA!!!
oh yea...goop
Step 5. And then I check to see if they are "filled".  I'm not sure if this is totally "scientific" but the way I check the seeds to see if they were from a "mature" plant is crack one in my teeth and see if there is a seed pod inside. Sometimes if you picked to early the seed sheath on the outside is all you have but the inside is empty.

If you look REALLY close you can see the "outside" of the melon seed (testa) and the seed guts (endosperm) on the inside. 

From this whole melon I got a whole handful of seeds.I just saved a few dollars on a new envelope of melon seeds. This handful is only from one melon, another melon in the garden and I will have enough melon seeds to grow a garden of melons!

Monday, October 14, 2013

Winter Seasons

The weather has shifted.  It is starting to be coolish in the morning.  Winter here is short.  Before long I will be prepping for Summer Season.   This time I did something new, I planned.  Especially after the bug-hell I have been in I thought I should spend a little more time getting ready for winter. Plus I am hoping to cut down on the mystery plants. So I've consulted my Magic Garden Companion Guide, picked my winter veggies and Viola! A garden map to end all Garden maps:

Classy right?

So what did I pick and why?
Well first of all Aphids, Aphids Aphids.  The reason I have had so many aphids is because I have had so few beneficials.  I have had so few beneficials because I have no habitat for them.  I have started an "overwinter" garden (which will also be my main garden next year) but thought I would try to pull in some regular plants that might help.

Carrots: Attracts a TON of beneficials such as parasitic wasps, (see my first one HERE!).It also attracts lace wings, assasin bugs and "big eyed bugs" (whatever that is). It also provides added water to the soil (a must here in the desert). It grows really good with Peas and other winter veggies.

Beets: Add tons of minerals to the soil. Also a good companion plant to brassicas (brussels and cabbage).  They are improved by Garlic.

Onions: Supposedly keeps aphids away. I'm not sold on this as I have put in TONS of chives around my more aphid infested plants. But maybe a stronger allium would help. I will also be marking at least two to go to seed.  I think the flat white flowers will attract lots of the beneficials that I am missing.

Garlic: Not only another aphid resistor but also something that will help the orange tree-who knew?. So I sandwiched it between the beets and the orange tree.

Peas-now here is where things got tricky tricky. Supposedly peas and onions are not friends in the garden (despite making a tasty treat in the kitchen). So I pulled them apart a little bit, hopefully this is enough.
Not on the Map-Dill, and Coriander- Both are good garden plants.  Also both taste good. Also Dill and Cilantro are closely related; seems good right? Well maybe not. They cross pollinate.  I have dill growing in the overwinter garden; hopefully that will be far away enough to put some coriander in the garden but where? Carrots and Dill don't play nice, does that mean Coriander won't either? I'm going to need more research to figure this out.

Also I forgot to add Broccoli from some bizarre reason. I think they will go where the lettuce is and the lettuce will be sprinkled around the garden like basil was during the summer. OH yea and SPINACH, forgot that too, i'll find a spot somewhere...

Tuesday, September 24, 2013

Savers: Lettuce Edition


A tutorial to Collect Lettuce Seeds.
I was really confused about when to harvest seeds and how to keep track of the various stages of the budding/pollinating/maturing of the pods so here is a handy guide of how I learned to identify each stage.


After a season of Lettuce the plants sends up a long stalk, all along the stalk are small buds like this:

 See how most are "tight" buds and a light green? That means they are baby buds and not ready.  The seeds will eventually be at the bottom of each "bud".


Watch and wait and suddenly you will notice some of the buds have blossomed into small yellow flowers like This:


If you watch closely in a day you will notice the yellow flower "close up" 
Small closed yellow flowers
The flower bud will start to dry out and the yellow flower turns white and fuzzy.  This lets you know it was pollinated. 


See how green this bud is? Also it is not a
"fuzzy" white, that means it has not yet
turned into a yellow flower or been pollinated
it is still a baby bud


This one is drying; you see more white
and the white is "fuzzy" also the bud is lighter
this one has turned into a yellow flower and
then pollinated.
READY!
He is ready! see how the bud is brown and dry? If you look really close under the white fuzz you can see some of the seeds. I simply pinch the white fluff and pull out the seeds then drop them into a ziploc bag.

READY!


The seeds! the white fluff is in my finger.  and I have a fingerfull of seeds.  Each plant makes several buds and each bud makes a decent number of seeds.  Next thing you know you could have enough seed to grow another garden!

Wednesday, September 11, 2013

Savers

To try to save some money I have begun to harvest some of my seeds. This way I can spend the money on other things like shoes  trellises (trellisi?). So here is my step by step to saving Zinnia Seeds.


 These are the first "productive" flowers I have been able to grow other than some native plants. This guy is HUGE and much bigger than I expected so he has provided some lovely shade to my poor butternut squash (more on that in weather issues).  I see tons of bugs hanging out around him, He has been bit a few times but seems to survive the occasional munch.


1. Pick a beautiful specimen-one you hope to repeat next
year.  This guy has a beautiful pink shade and he
is opening in a somewhat uniform manner-see that guy
in the back corner? too unruly

2. Let him dry til he needs some
Cetaphil. You know he is ready
When you pull a petal out and a
little arrow is attached.
(Those little pointy arrows circled in green are the seeds
they are attached to the petals)


3. Give him a good haircut. Cut as close to the
"center" part (which is hard) as you can, all that
extra petal is not necessary.


4. Pull off the seeds, these are really the bottoms of the petal
so what you have left is a pile of seeds/petal butts, and the
rest of the flower center-I don't know what it is called.
the petals should pull of easily, just rub your thumb over them
or gently pull them out.


 They needed to dry some more so I put them in an origami box since I did not have any paper bags. I will pull seeds from a few more flowers this year and grow at least two next year!


Monday, September 2, 2013

Cha Cha Cha...CHIA

Any one remember this:


I do...(and in the spirit of full disclsoure, I had one, I think a looney tunes one?). So why are we remembering terrible infomercials from the 90's? Because I never grew up Because I am trying to grow one again! I have tried growing chia seeds in the past, we never got very far-which is incredibly frustrating seeing as they GROW WILD IN THE DESERT! (useful wild western plants).  However there is incredibly little information on growing them. Why do I want them? Well glad you asked:

http://nutritiondata.self.com/facts/nut-and-seed-products/3061/2
Omega 3x6 baby                                
http://nutritiondata.self.com/facts/nut-and-seed-products/3061/2
See-healthy!
Chia seeds are amazing-besides being a delicious sprout to add to salads, they are are high energy food. They have protein, fiber and fat and are a whole grain food you can absorb (which makes them beat out flax seeds) and they are incredibly high in anti-oxidants and have Omega 3 and Omega 6 (I don't make this stuff up )They get "goopy" when you add them to liquid (technically called mucilaginous but that sounds gross.) and so when used with chocolate milk you get a rich desert. I add them to iced coffee for a delicious drink/snack halfway through the day.  My husband adds them to his protein shakes when he rides his bike.   However they are HARD TO FIND.  There has been a chia seed shortage) due to limited growers and natural hardship. This is just another example of how important your own foodshed is.  These little seeds are costly as well, I can find them at Costco for 6.99 a pound but the grocery store has them for 10.00 a pound.

So over the next few months I am going to figure out how to make these guys grow. I am growing from my last purchase of seeds from costco (http://nutiva.com/chia-seeds/). I have some sprouts going in sheltered spot and as they get bigger I am putting them into the garden. Follow along!


Where I started:
growing chia seeds: This is a great article to figuire out needs/size/temps/harvest
Desert Harvesters: A lot of sites say the flowers are harvest in the spring but Desert Harvesters guide tells me to plant in the fall-and they are one of my garden bibles here in this hot pot


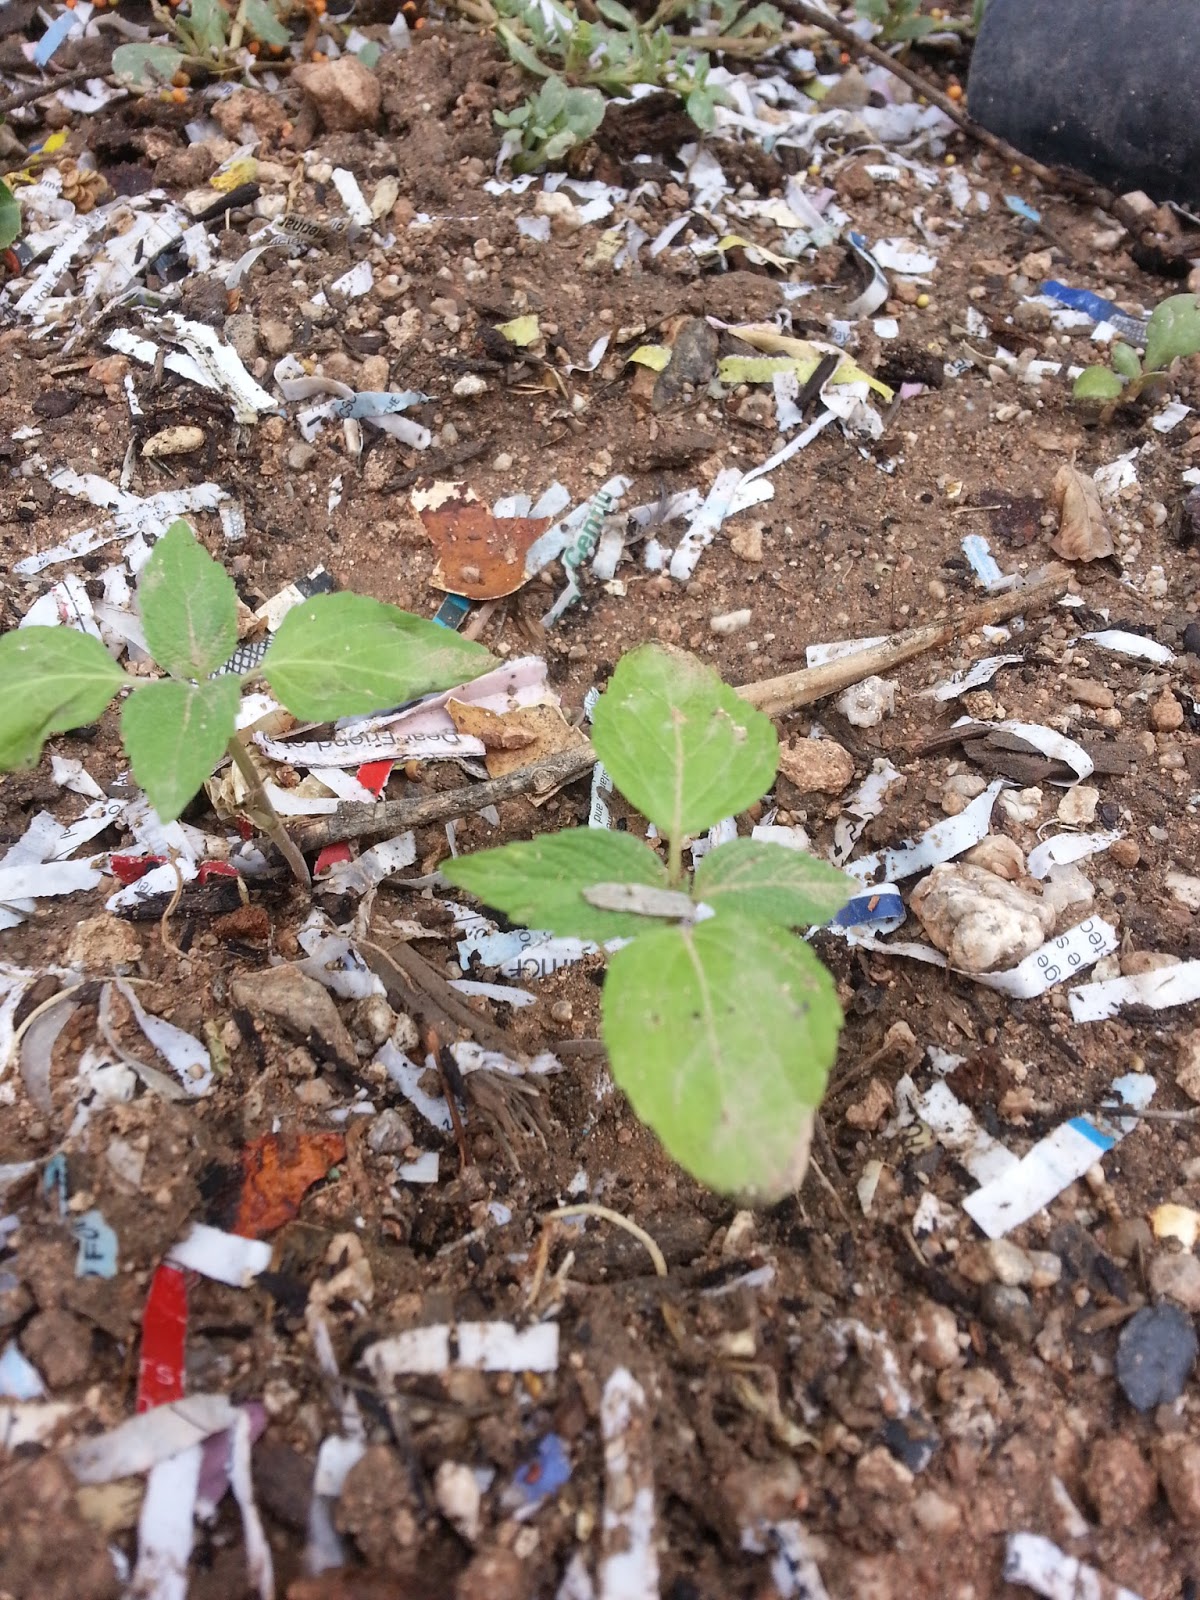
"the baby plants". I put in small pinches and this patch has been thinned like crazy-i have probably pulled 50 seedlings out of this batch. These are some fertile babies, almost every seed I planted sprouted. 
soooo cute :)

Toddler Babies: These guys have been transplanted into the garden. They almost died the other day when after two nights of rain were no match for the sunny 100 degree weather.